If you’re here, you probably have a very good idea about what Arduino is and you just want to setup your local machine (Mac OS X, Ubuntu or any other Linux Distro, or Windows ). Let’s jump right into it, rather than blabbing about other stuff you actually don’t care about at this moment.
Installing the IDE Link to heading
First of all, you have to download and install the software bundle.
Ubuntu and other Debian based systems Link to heading
Open up a terminal and issue the following command to install the Arduino IDE and other drivers
sudo apt-get update && sudo apt-get install arduino arduino-core
That’s it, you should have your IDE installed and ready to use.
Windows Link to heading
Go to https://www.arduino.cc/en/Main/Software And download the “Windows installer”.
Just double click on the exe and follow the onscreen instructions. It should be that simple.
Mac OS X Link to heading
Go to https://www.arduino.cc/en/Main/Software and download the installer for Mac OS X.
It should be a zip file. Just double click on it and it should extract the “Arduino” application. Move it to the Applications folder and double click on the “Arduino” app and follow the onscreen instructions.
You should have your IDE installed.
Connecting the Arduino Board to your machine Link to heading
Now that you have your IDE installed, connect the Arduino Board via the USB cable. This is where things can get a bit tricky if you’re not lucky.
On the bottom of the IDE, you can see if your system was able to detect the board or not. If it did not detect, you might have to install the drivers for your board. And then choose the correct board.
Click on Tools » Board » And choose your board. If you do not find the board in the list, you have to install it.
I was using an Atmel Atmega 328p Freeduino board and it wasn’t installed by default.
In case your board is not detected, follow these steps
Installing the Boards Link to heading
Click on Tools » Board » Boards Manager and install the one corresponding to your board. For me, I had to install Atmel AVR Xplained Minis
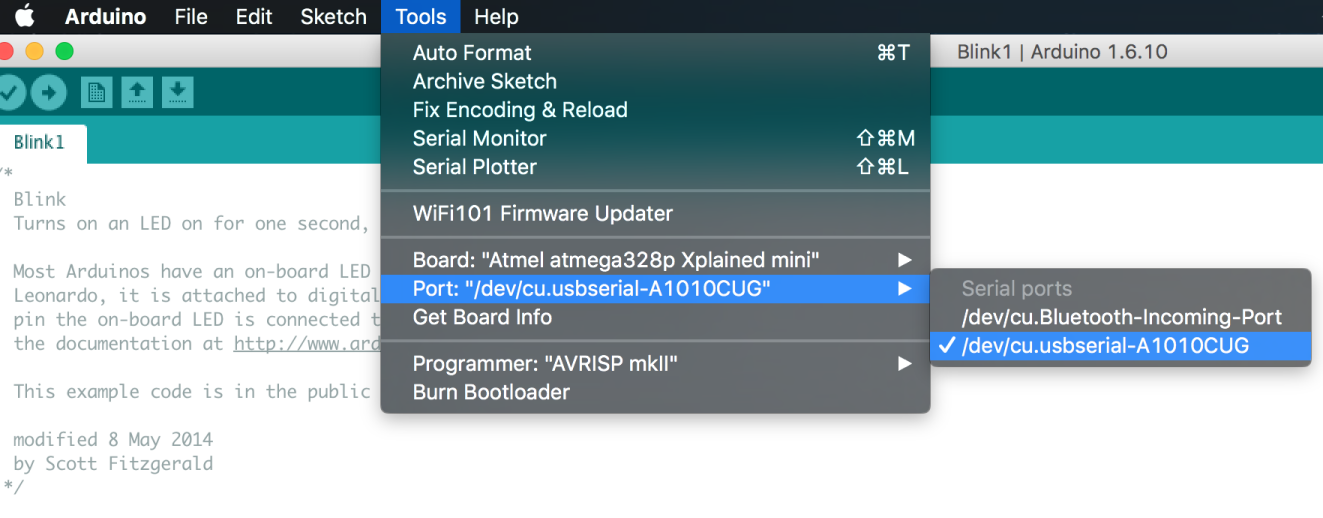
Once the required board is installed, your machine should detect your board. Click on Tools » Port » [Choose the serial port detected]. It should look something like below.
That’s it. You’re all set.
Testing it Link to heading
In the Arduino IDE, click on File » Examples » Basics » Blink
It should open a simple program on a new window. The following is the code
// the setup function runs once when you press reset or power the board
void setup() {
  // initialize digital pin 13 as an output.
  pinMode(13, OUTPUT);
}

// the loop function runs over and over again forever
void loop() {
  digitalWrite(13, HIGH);   // turn the LED on (HIGH is the voltage level)
  delay(1000);              // wait for a second
  digitalWrite(13, LOW);    // turn the LED off by making the voltage LOW
  delay(1000);              // wait for a second
}
Now, click on “Verify” and it will compile the code. Once the compilation is successful, click on Upload ( it is an arrow on on the toolbar ). Once the program has been uploaded to the board, you should see an LED is blinking on the Board. If you see this, you’re good to go. Everything is set and working great. You should be able to do any Arduino program now.
Go and have fun ;)